Instructions
Getting started
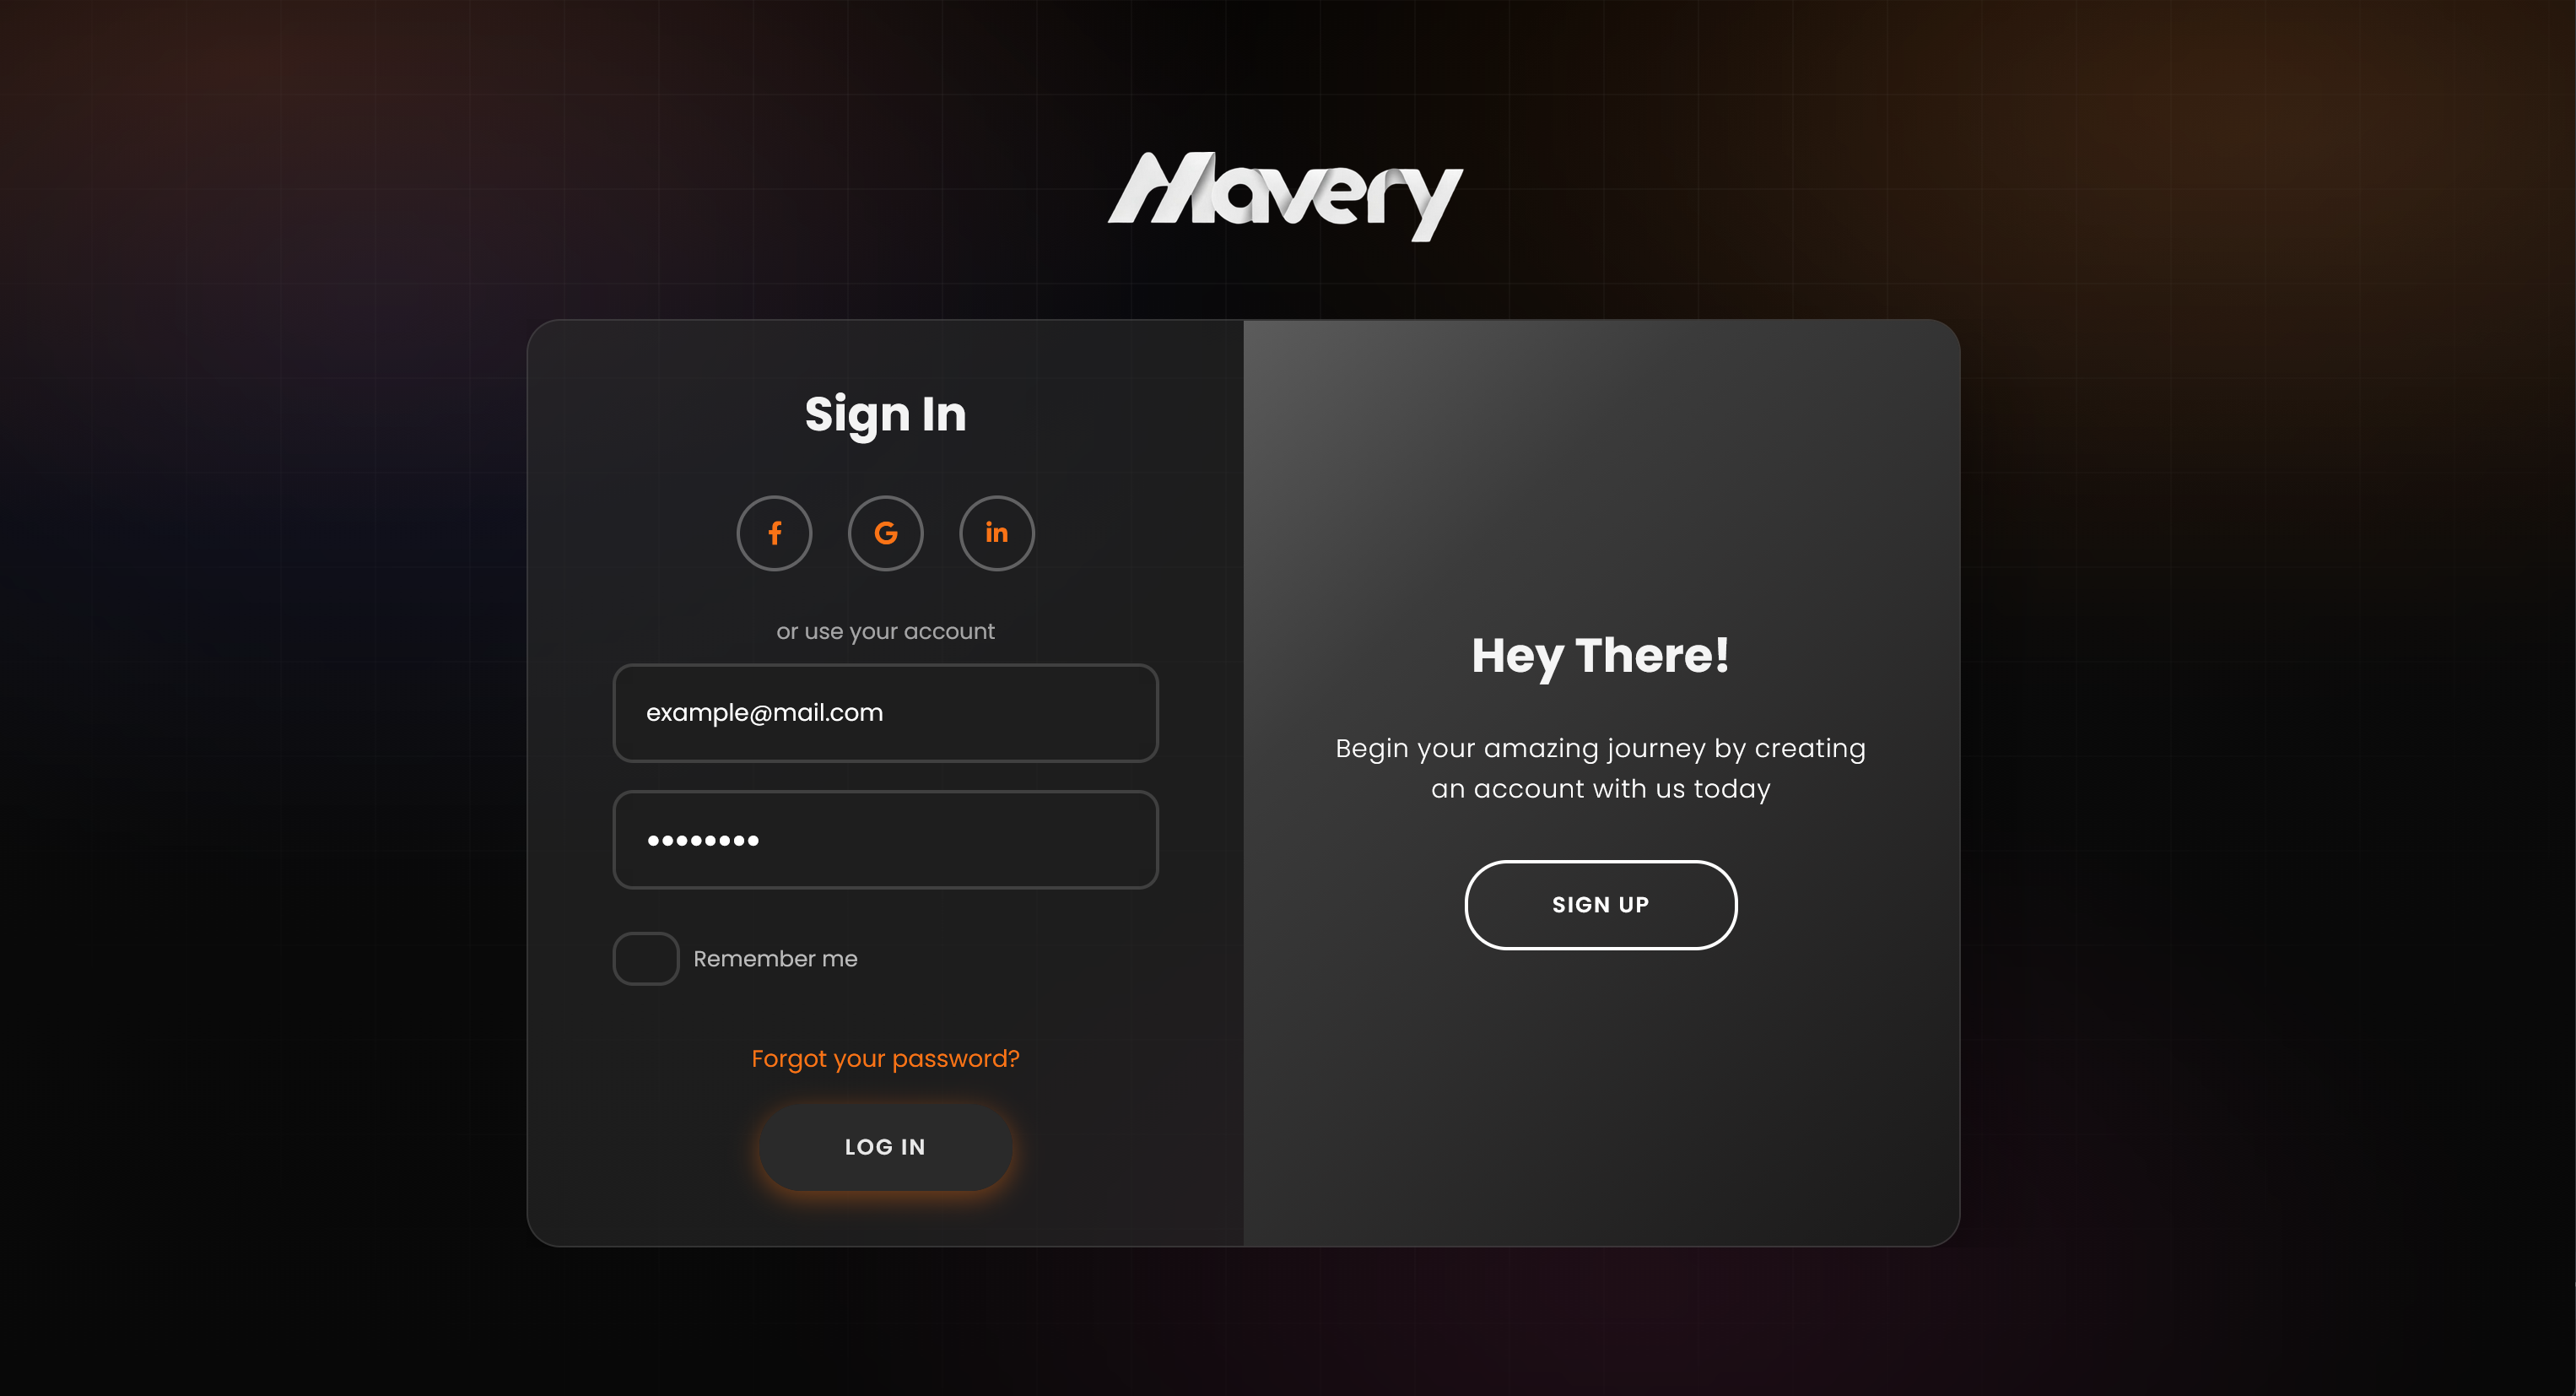
Register on the platform, sign in with your email and password, or use password recovery if you forgot it. After logging in you will see the dashboard.
Dashboard
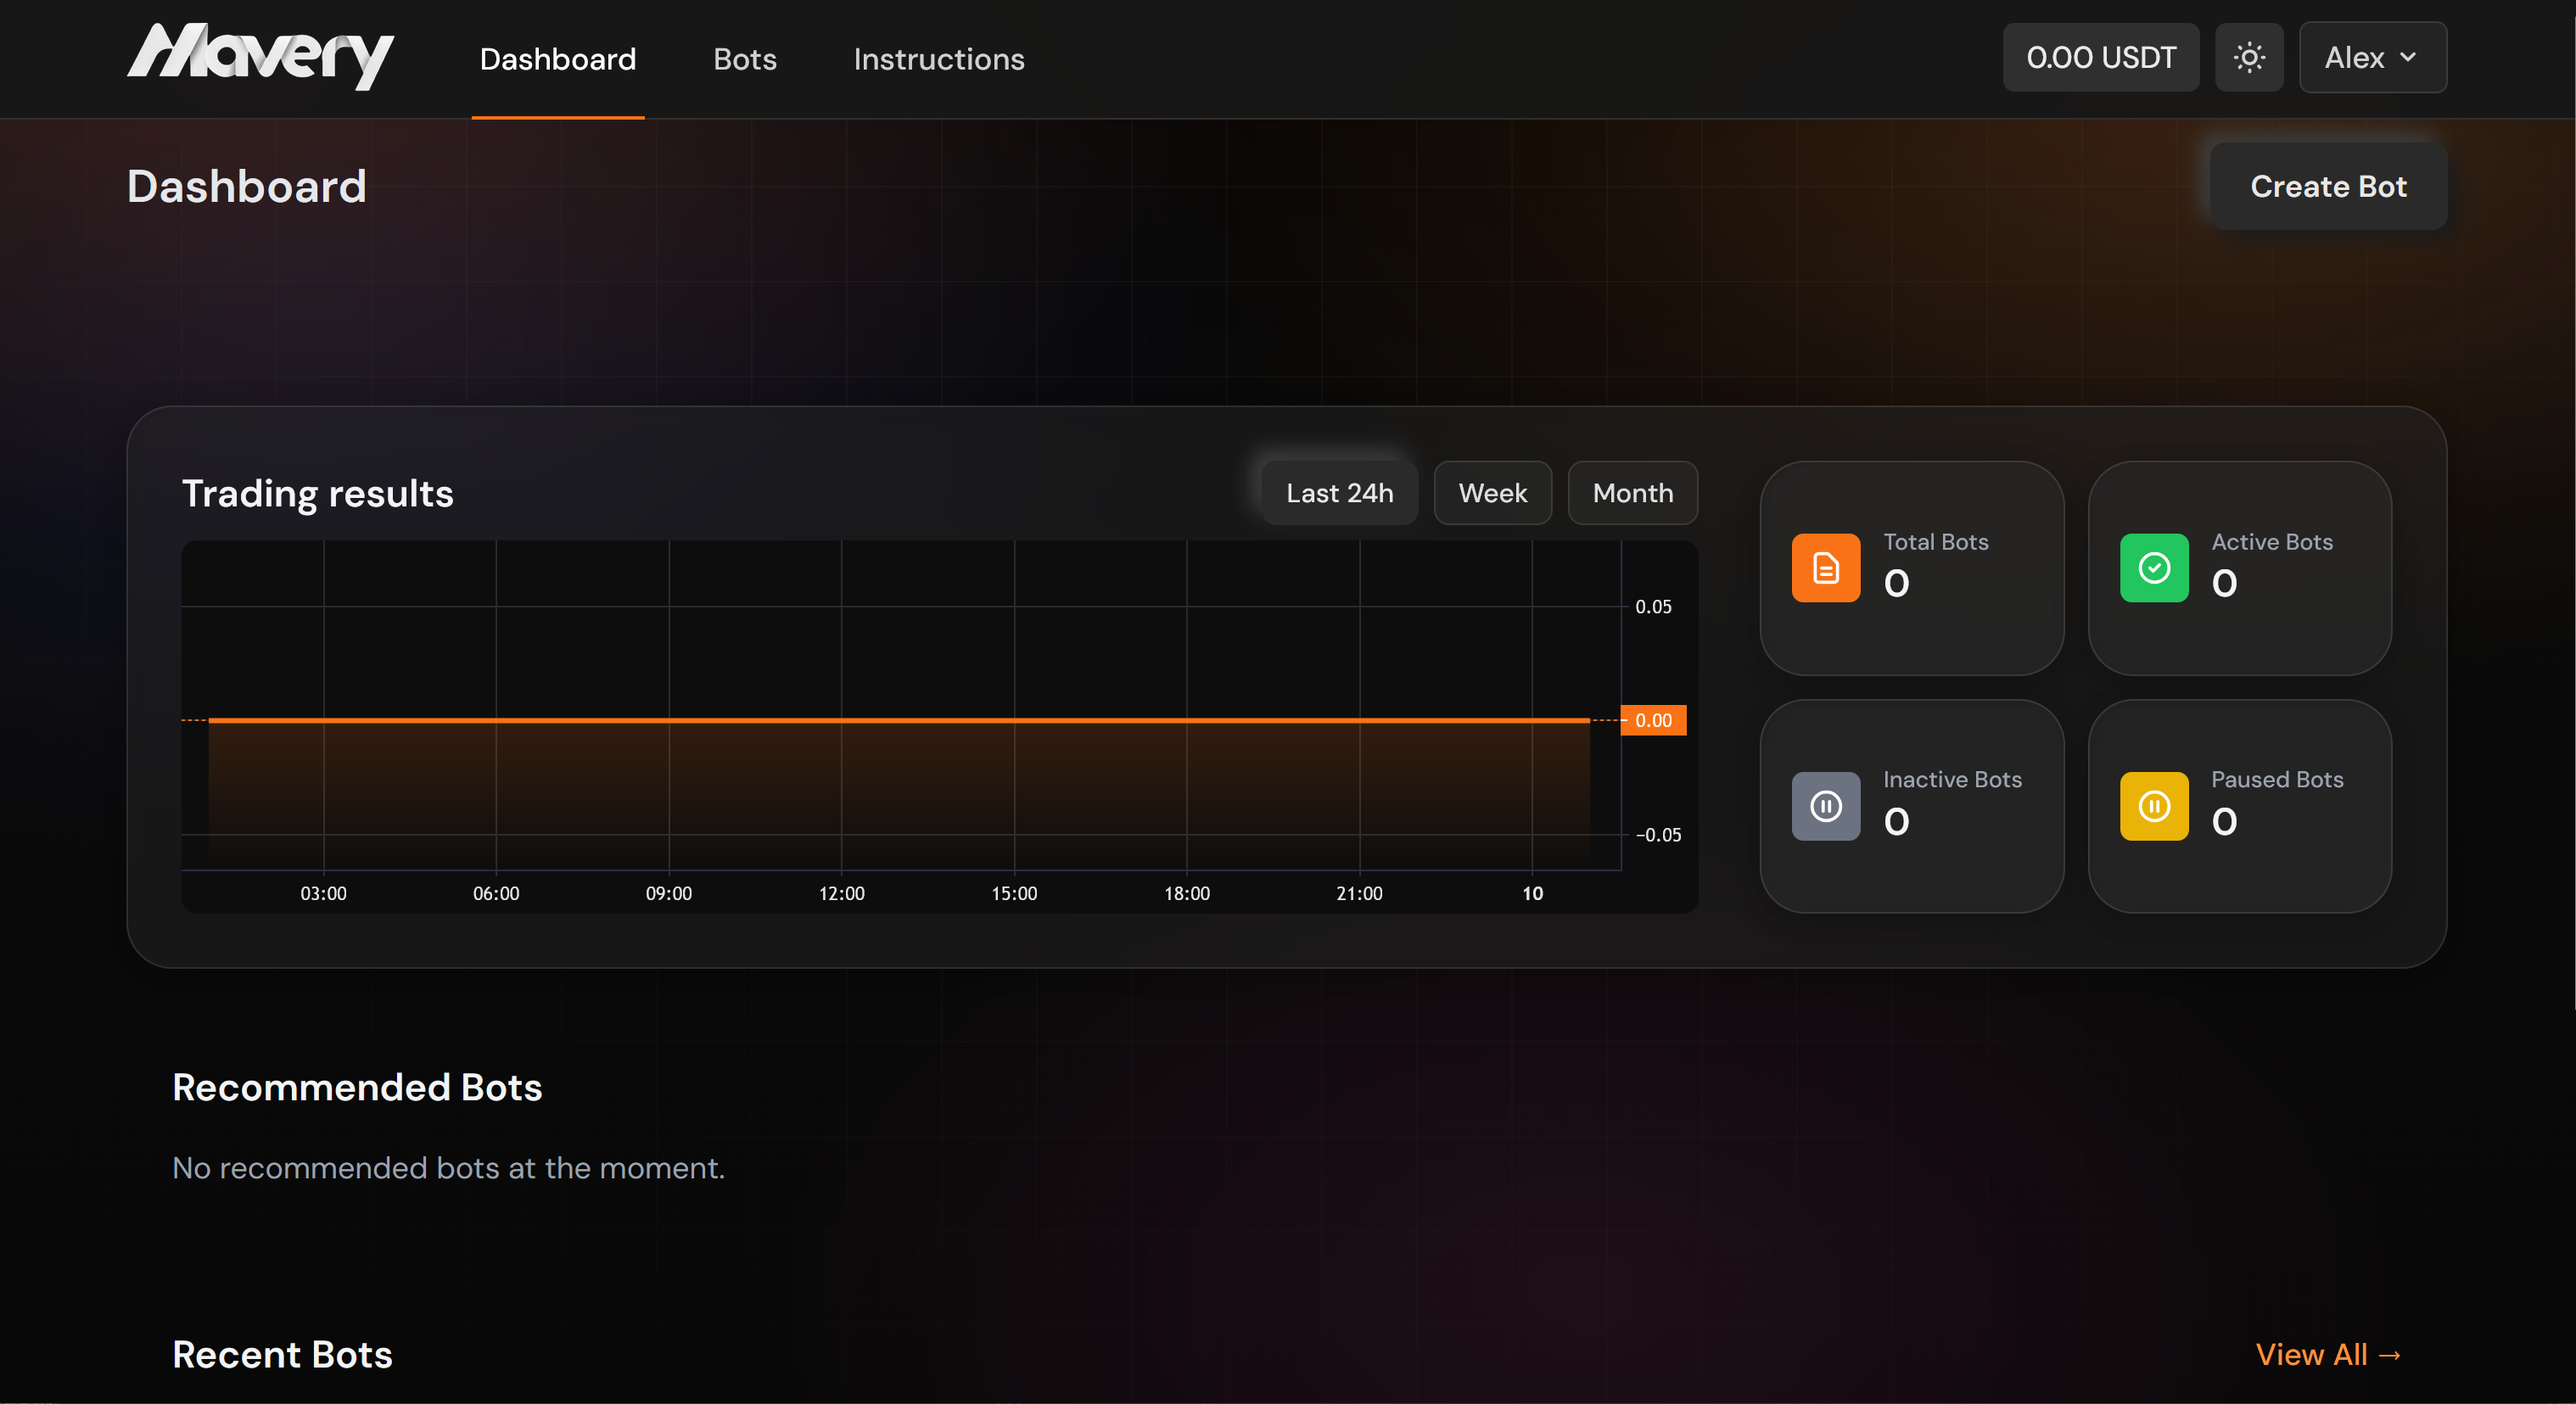
The dashboard shows your trading results chart, balance, and quick actions. Use it to monitor performance and jump to creating or managing bots.
Creating a bot
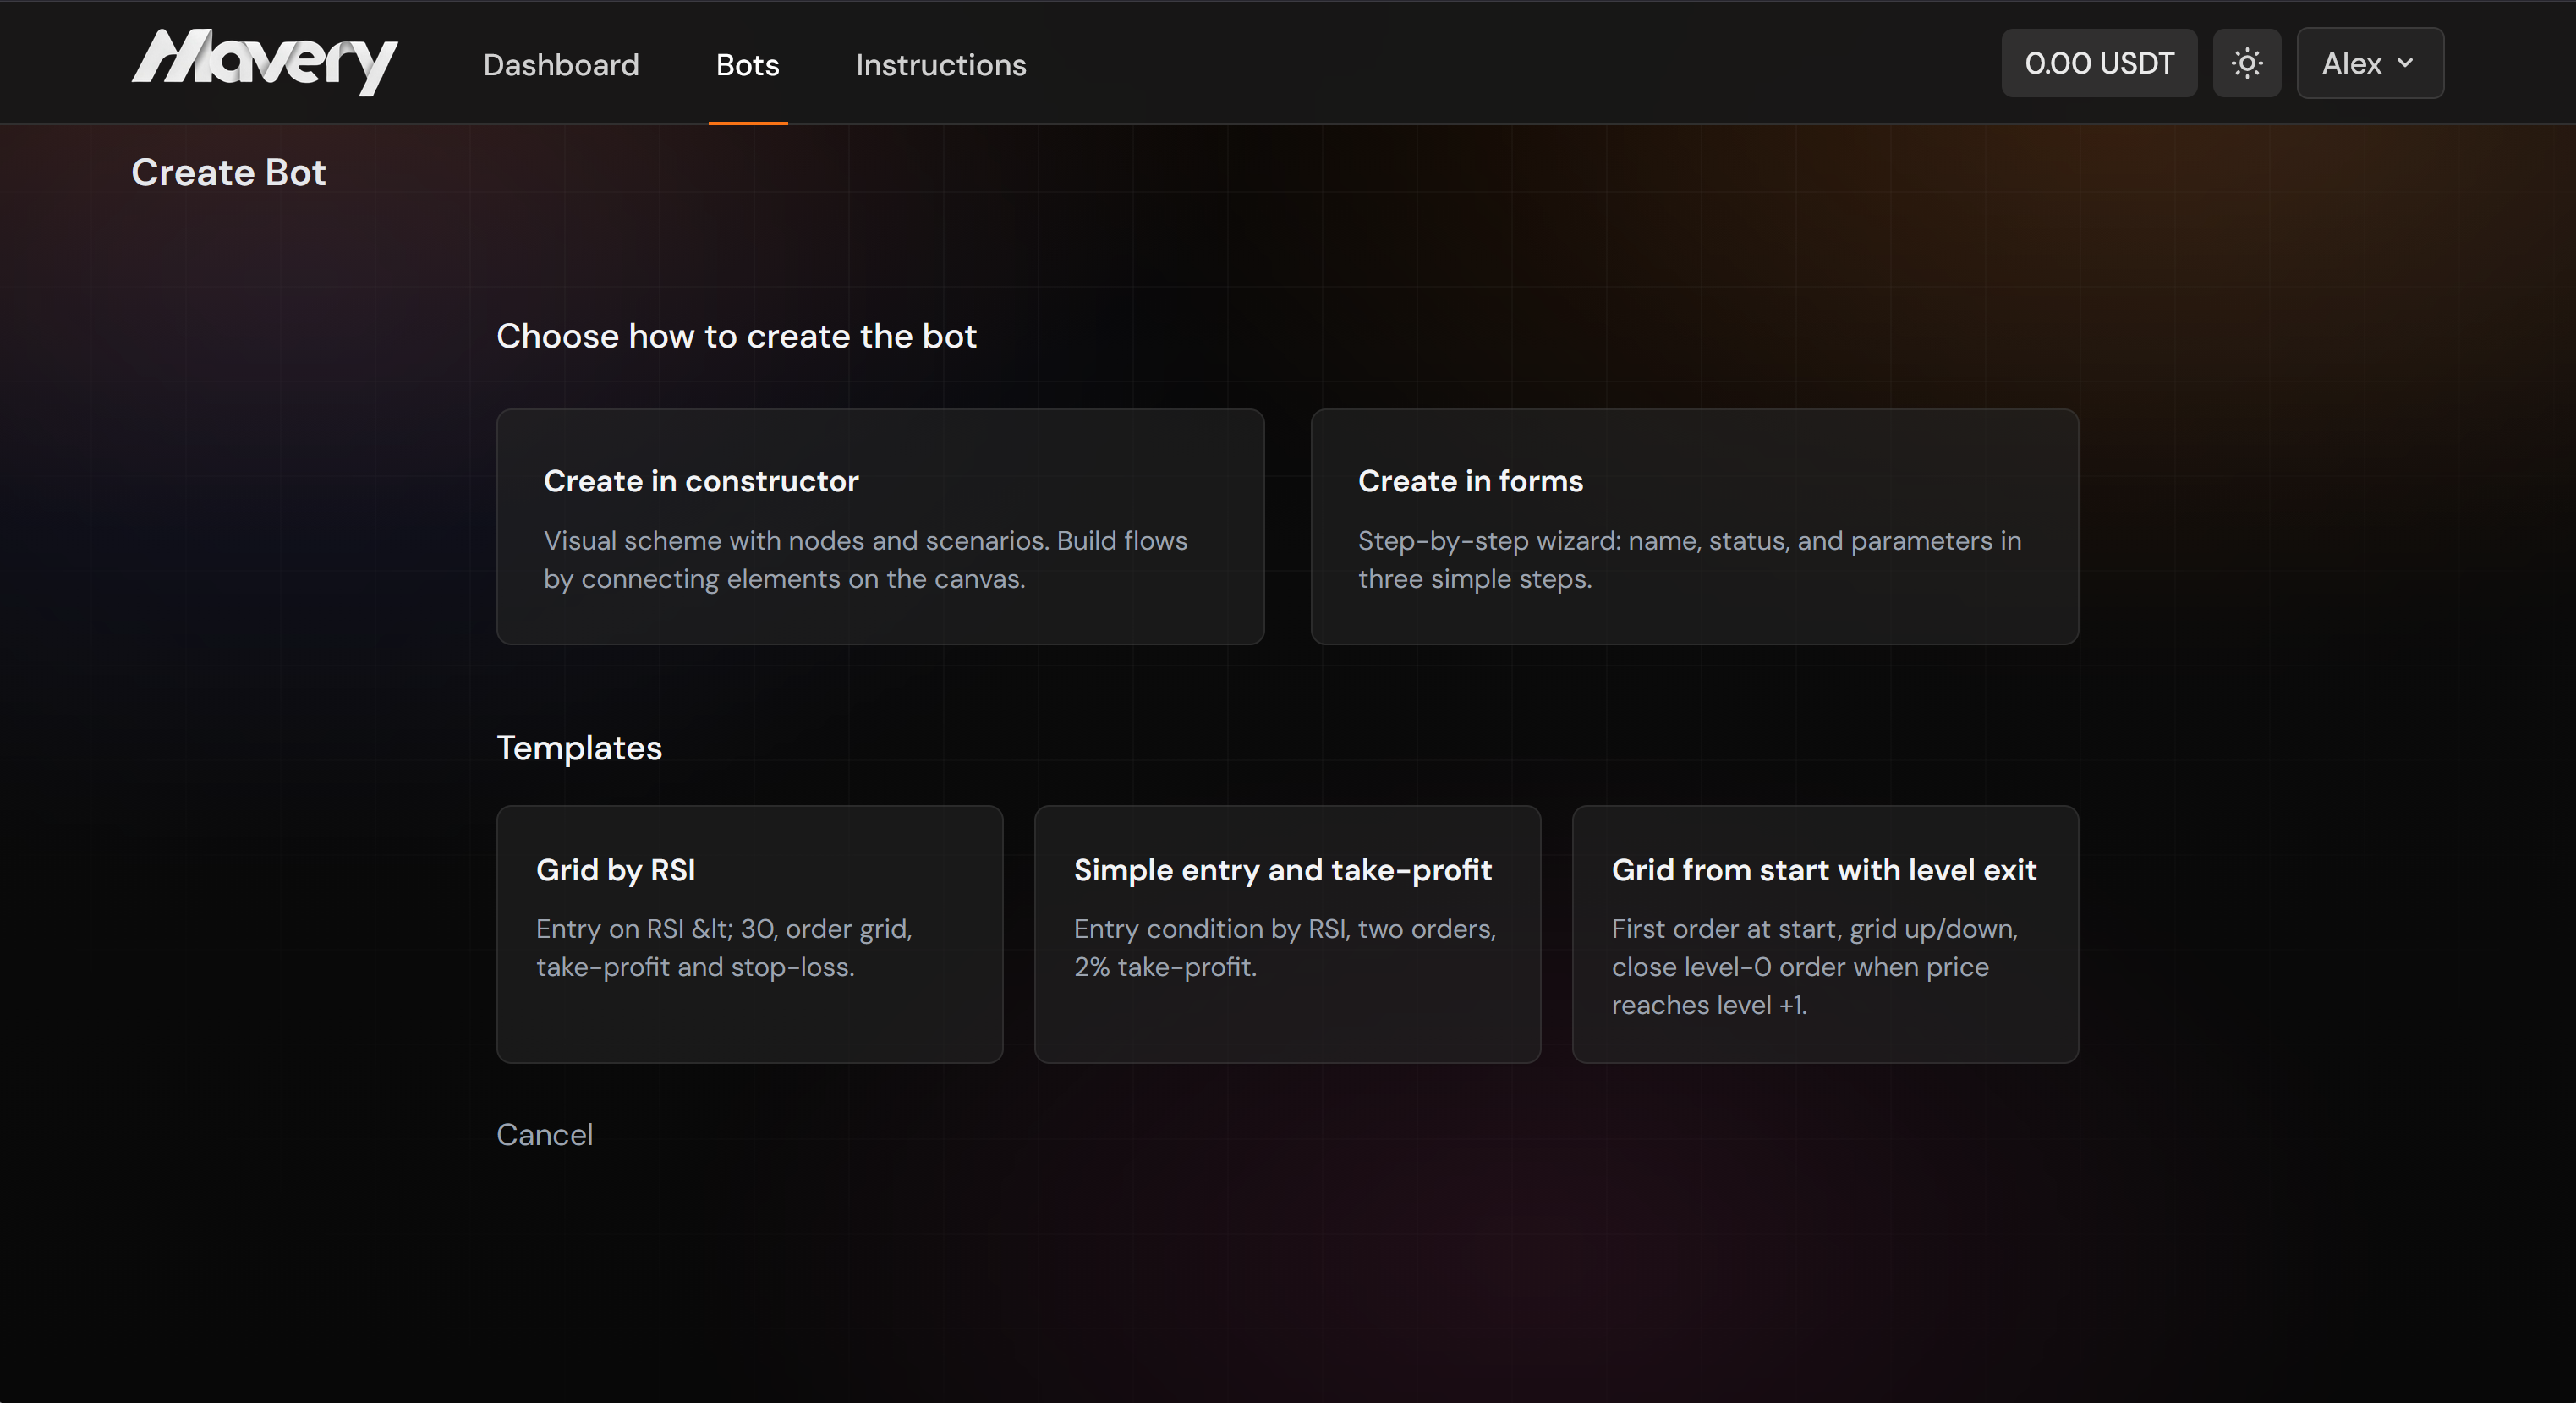
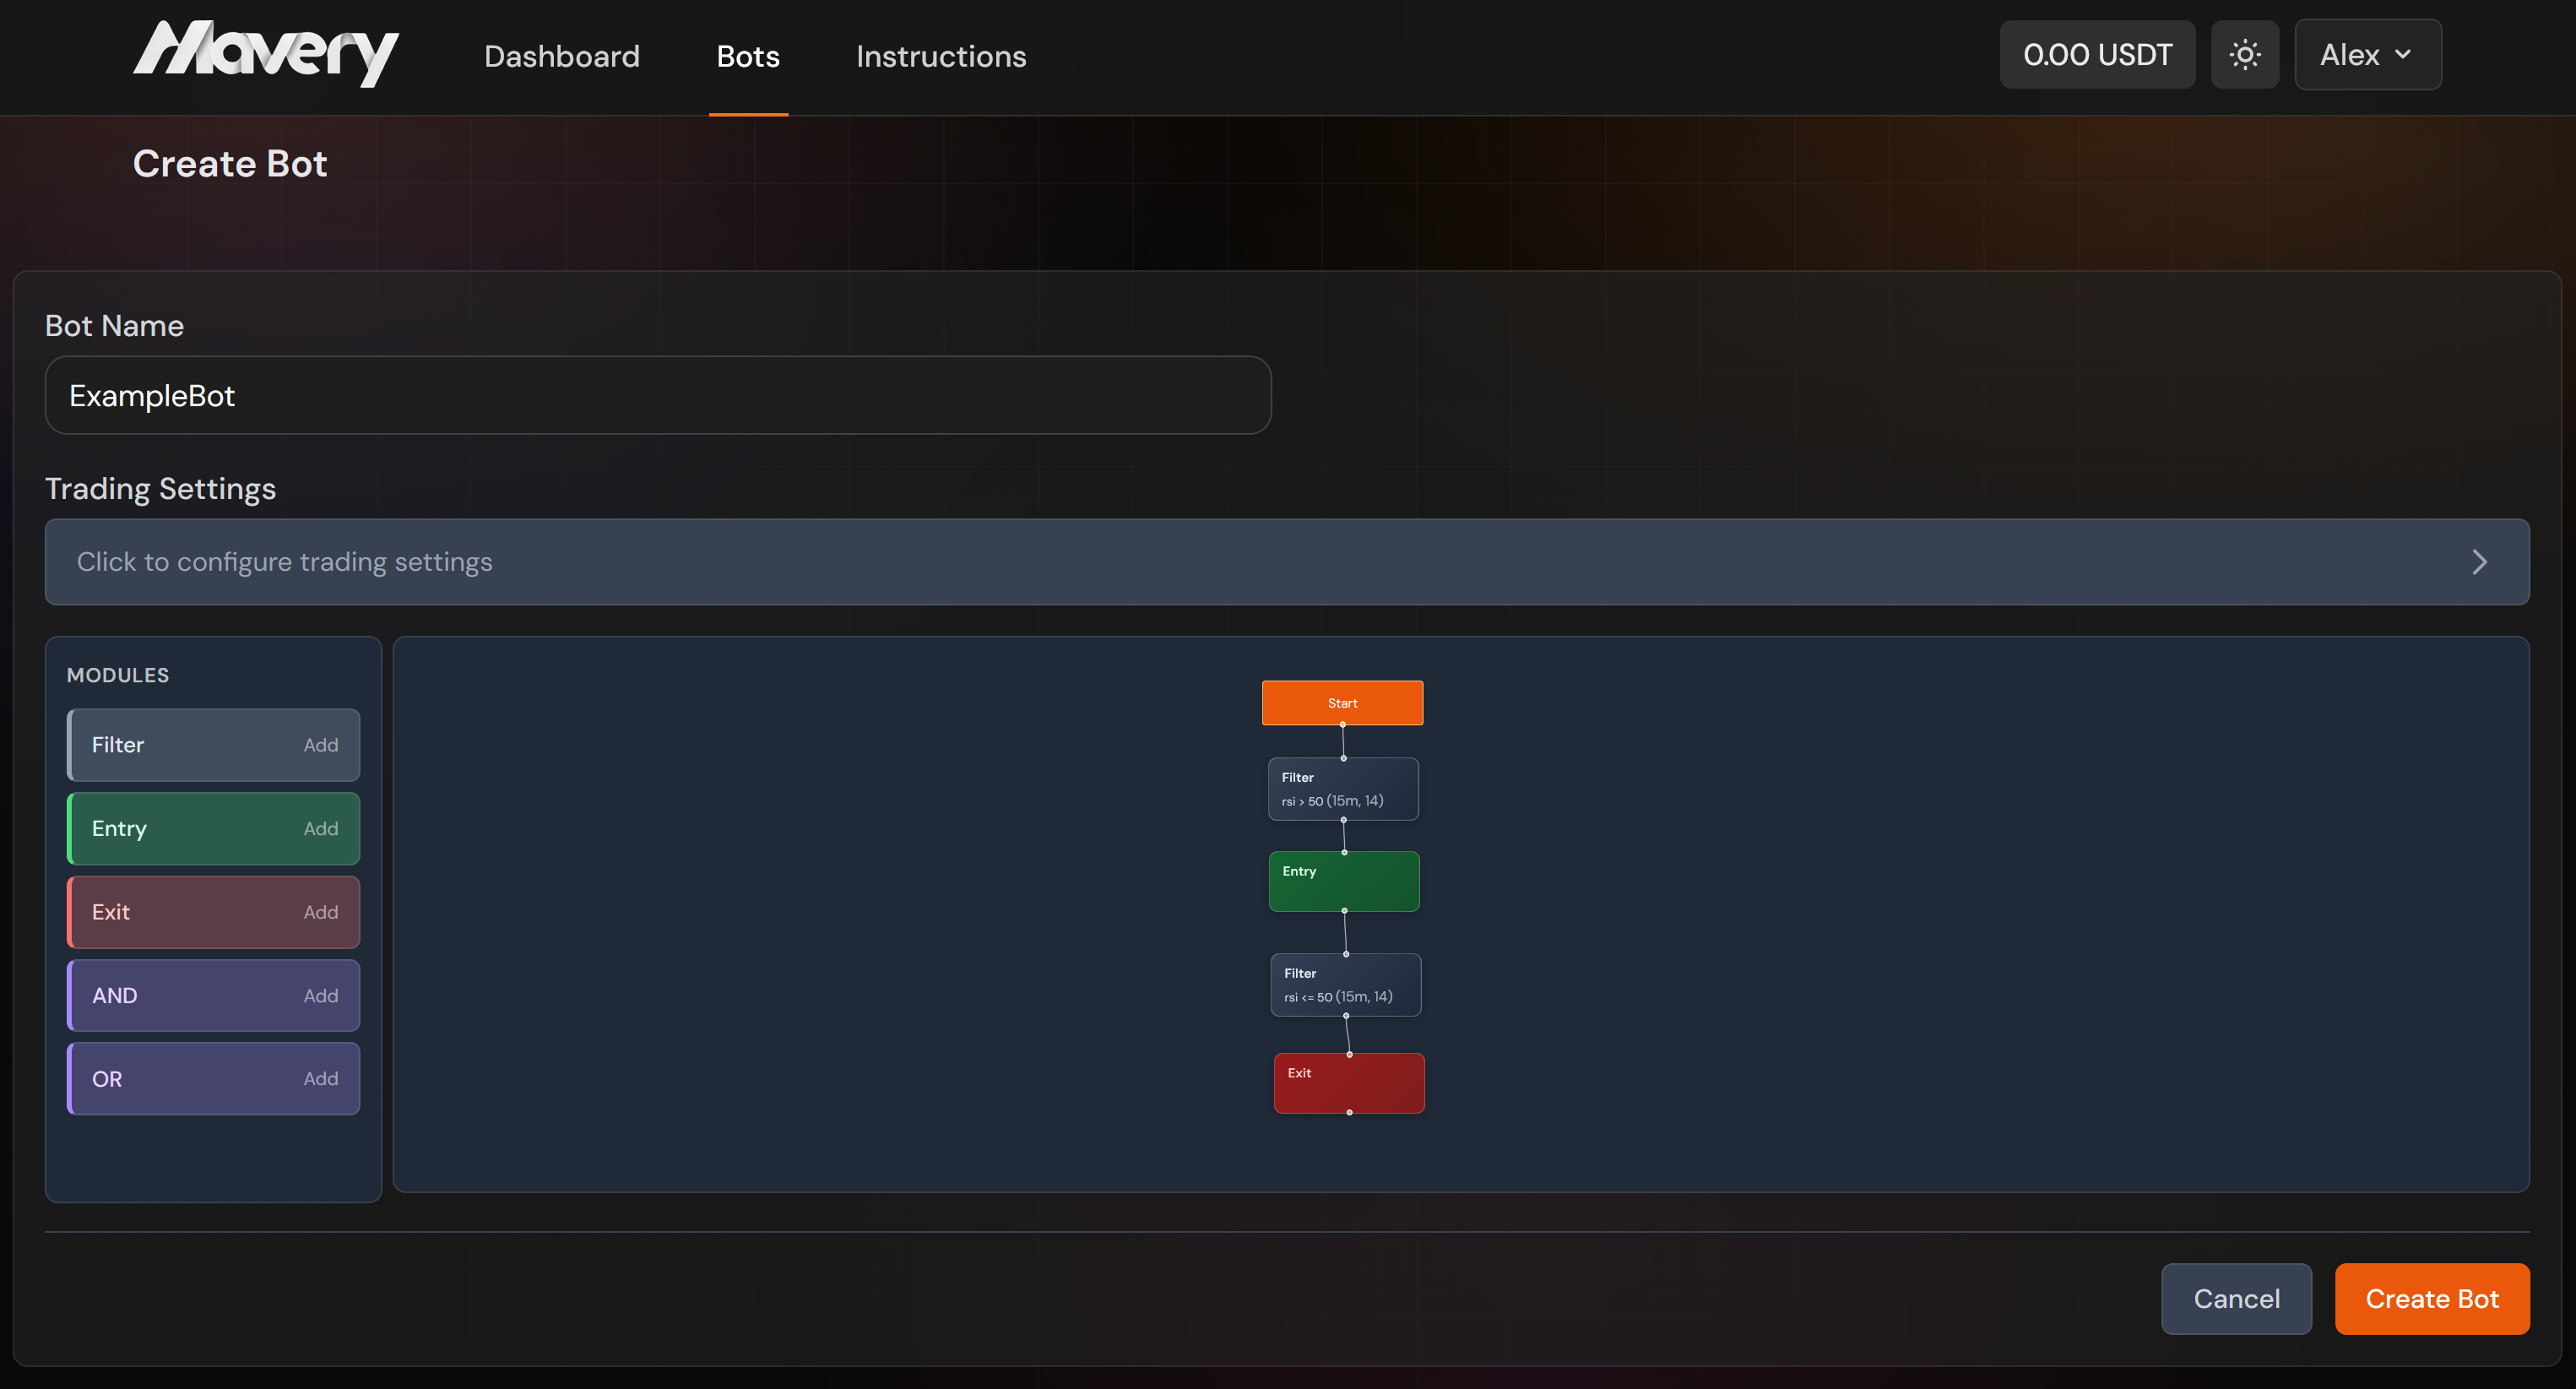
You can create a bot in three ways: using the visual constructor (blocks and node logic), via forms, or from a template. Choose the method that suits you and follow the steps to set name, strategy, and risk parameters.
Constructor: elements and logic
The visual constructor is a canvas where you build a strategy from nodes (blocks) connected by links. The execution flow goes from left to right: conditions are evaluated first, then entry and exit decisions.
Elements (nodes):
• Filter — a condition based on a technical indicator. Click the block to open its settings: choose the indicator (RSI, MACD, MA, BB, Volume, CCI, ADX, ATR), the comparison operator (>, <, >=, <=, =, !=), and the threshold value. You can also set the timeframe (5m, 15m, 30m, 1h, 4h, 1d) and the calculation period for the indicator. Several filters can be combined with AND/OR.
• Logical AND — combines two incoming signals: the result is true only when both inputs are true. Use it to require several conditions at once (e.g. RSI > 30 AND MA trend up).
• Logical OR — combines two incoming signals: the result is true when at least one input is true. Use it for alternative conditions (e.g. RSI oversold OR MACD crossover).
• Entry — the point at which the bot opens a position. Connect it to the output of a Filter or a logical node (AND/OR). When the connected condition becomes true, the bot enters the market (Long or Short, according to trading settings).
• Exit — the point at which the bot closes the position. Connect it to the condition that should trigger the exit (e.g. take-profit or stop-loss logic, or another indicator condition).
How it works:
1. Add nodes from the left panel (Constructor modules) by clicking "Add" next to the desired type. Drag nodes on the canvas to arrange them.
2. Connect nodes by dragging from a source handle (right side of a block) to a target handle (left side of another block). The link carries the logical signal: true/false.
3. Configure each Filter by clicking on it: set indicator, operator, value, timeframe and period. Save the modal to apply changes.
4. At the top, set Trading settings: exchange, API key, market type (Spot/Futures), trading pair, direction (Long/Short) and, for futures, leverage and working balance.
5. A typical chain: Filter(s) → (optionally AND/OR) → Entry; and a separate chain for exit: Filter or condition → Exit. The bot runs this logic on each candle according to the chosen timeframe.
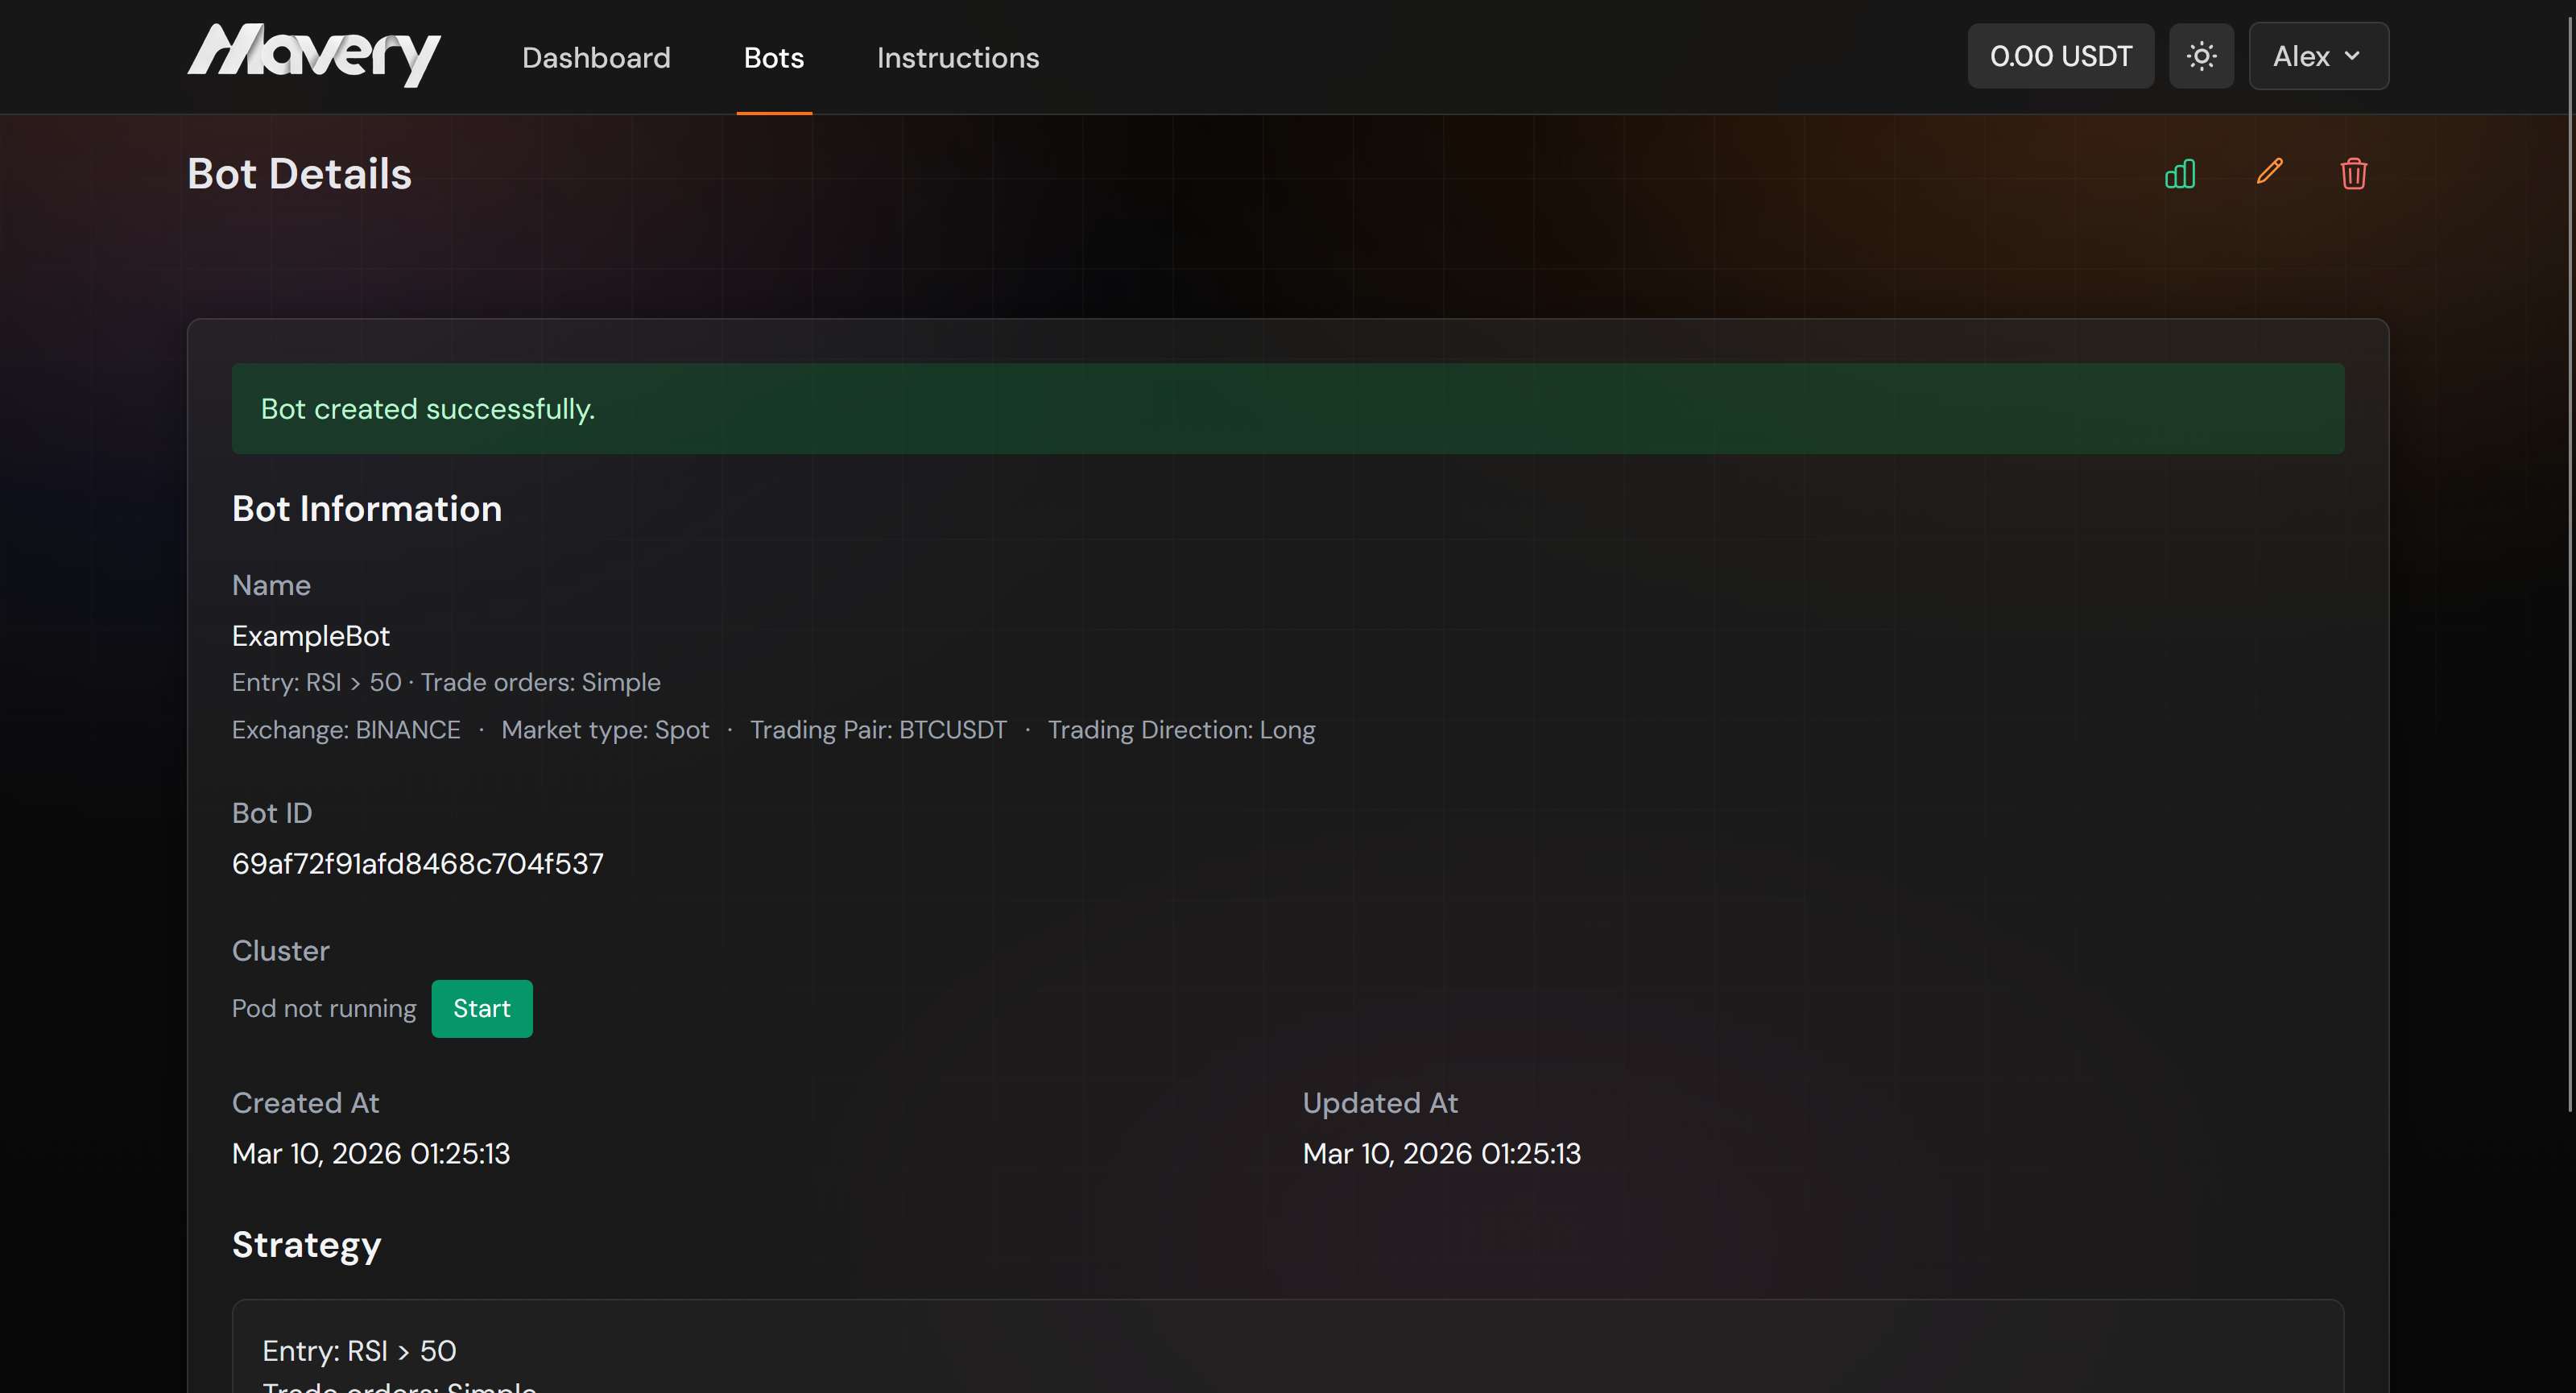
Managing a bot
Start, stop, or edit a bot from the bot card. View its status and parameters. Use the bot list to filter and find the bot you need.
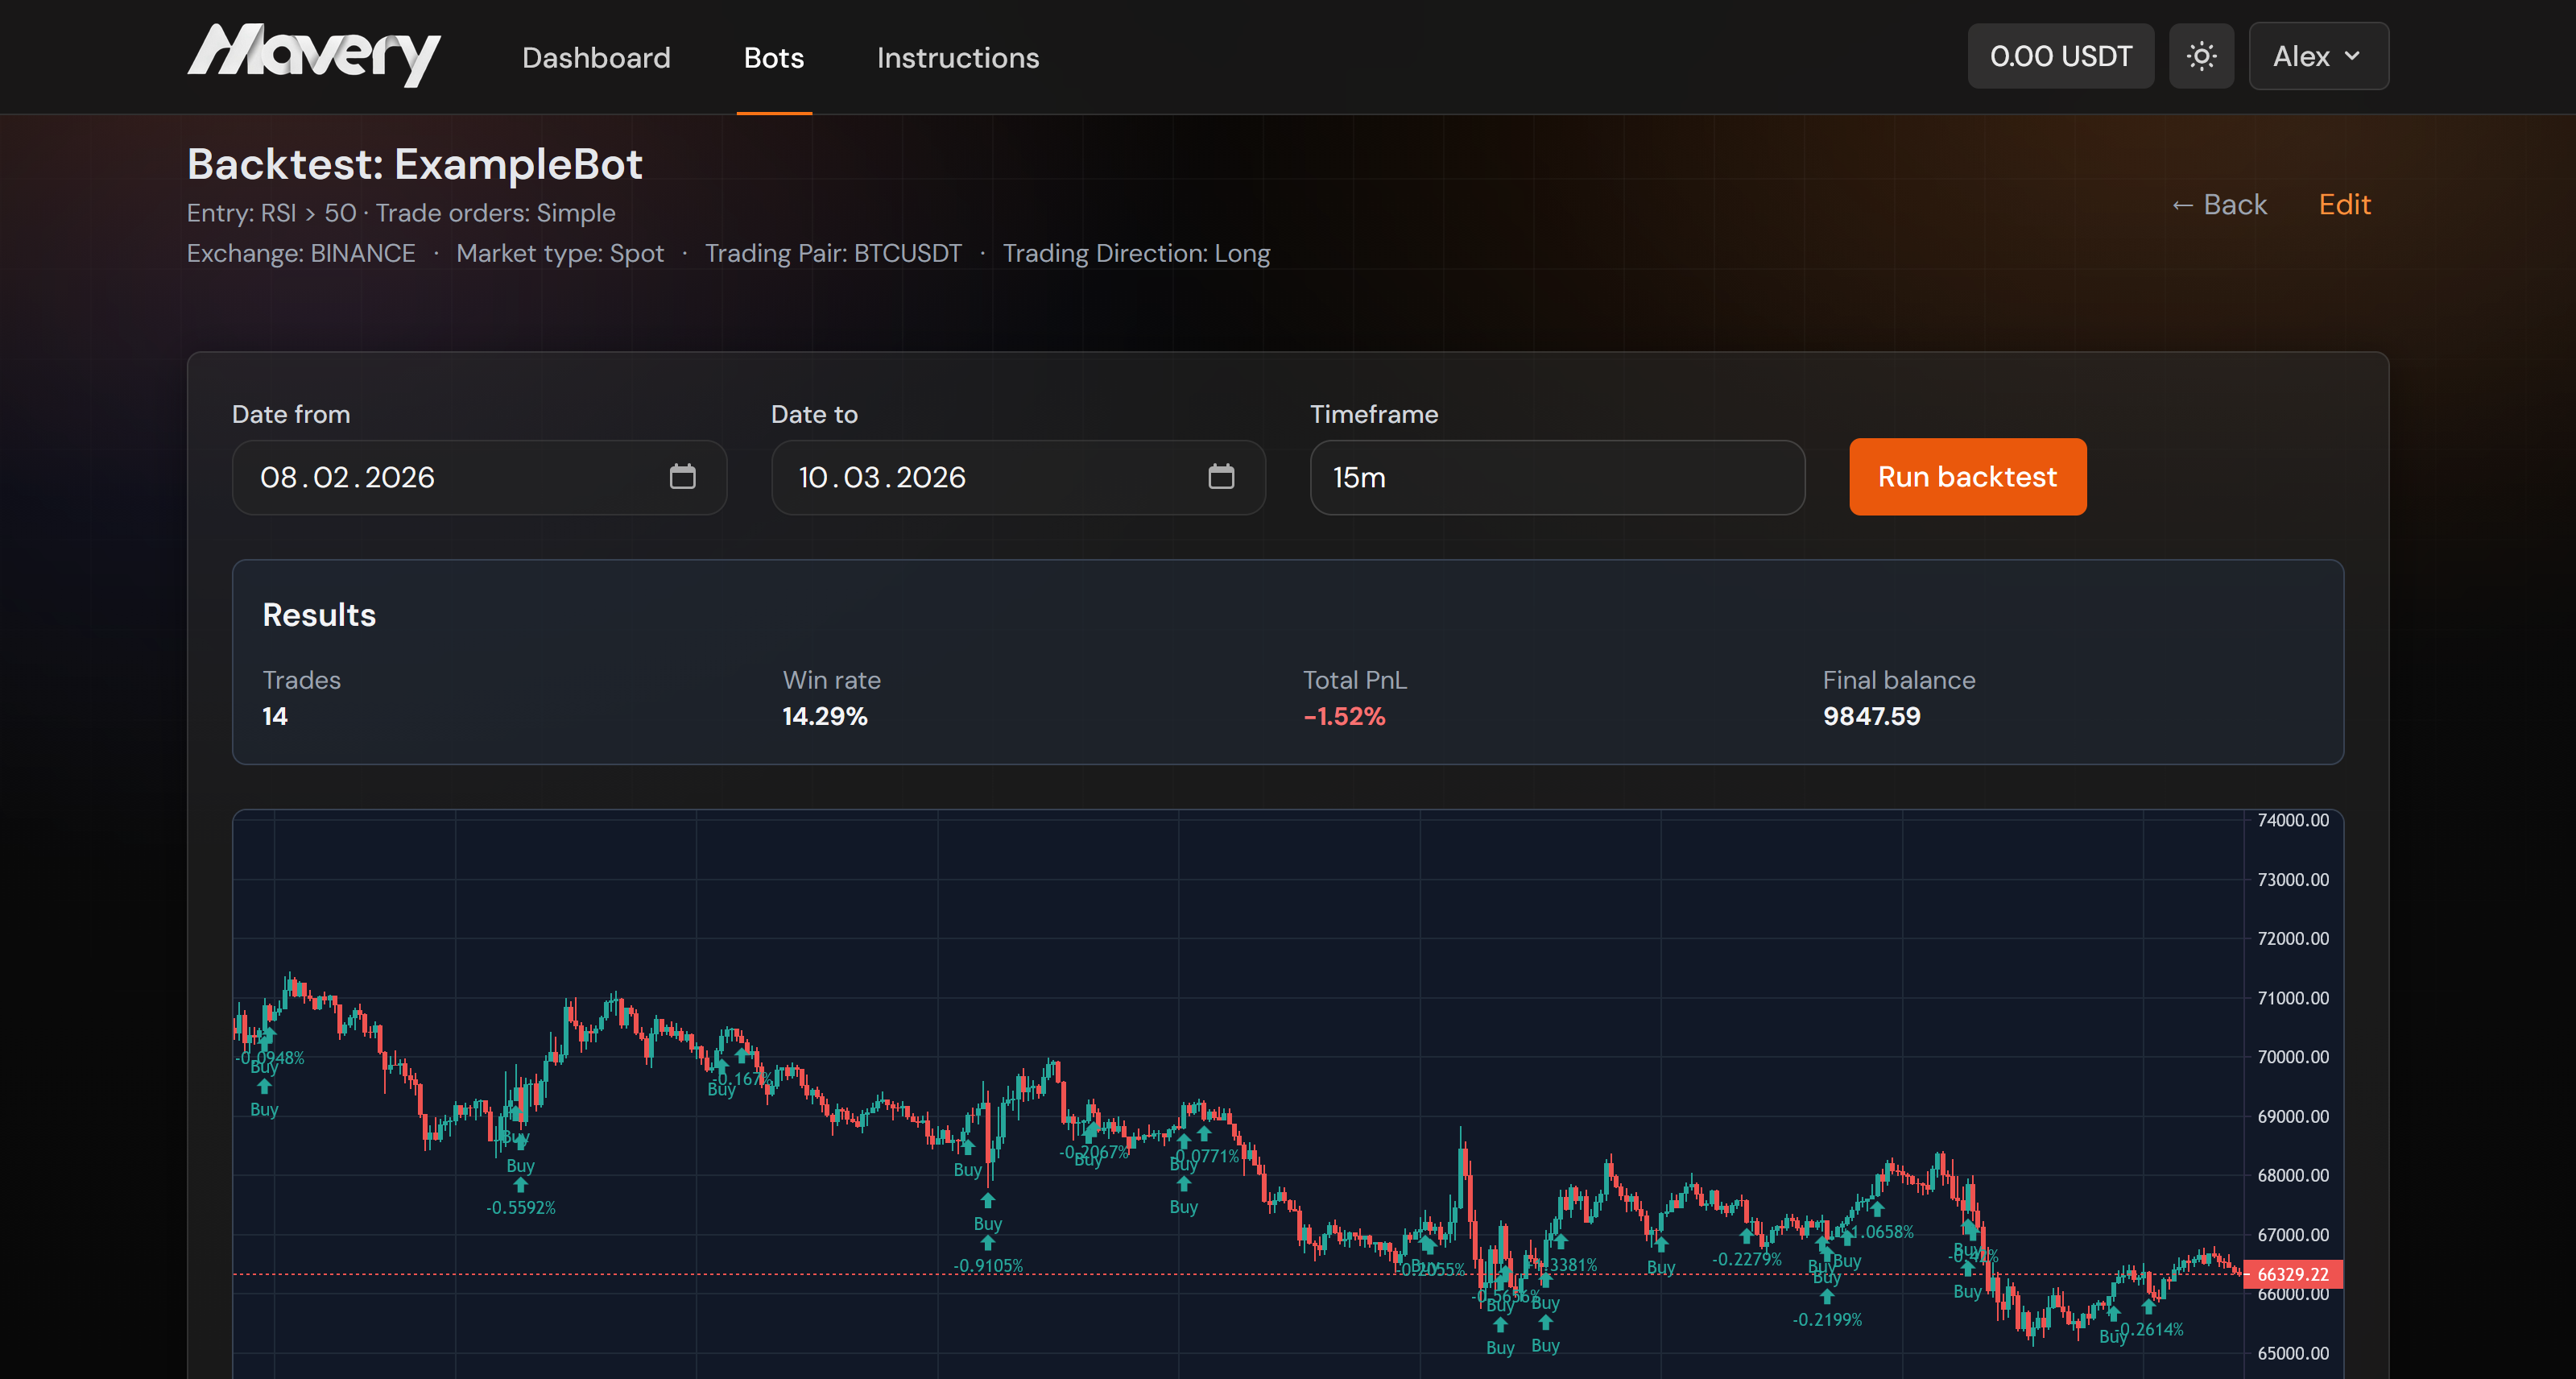
Backtest
Open Backtest from the Bots page, choose a bot, set a period, and run. Use the results to adjust parameters before going live.
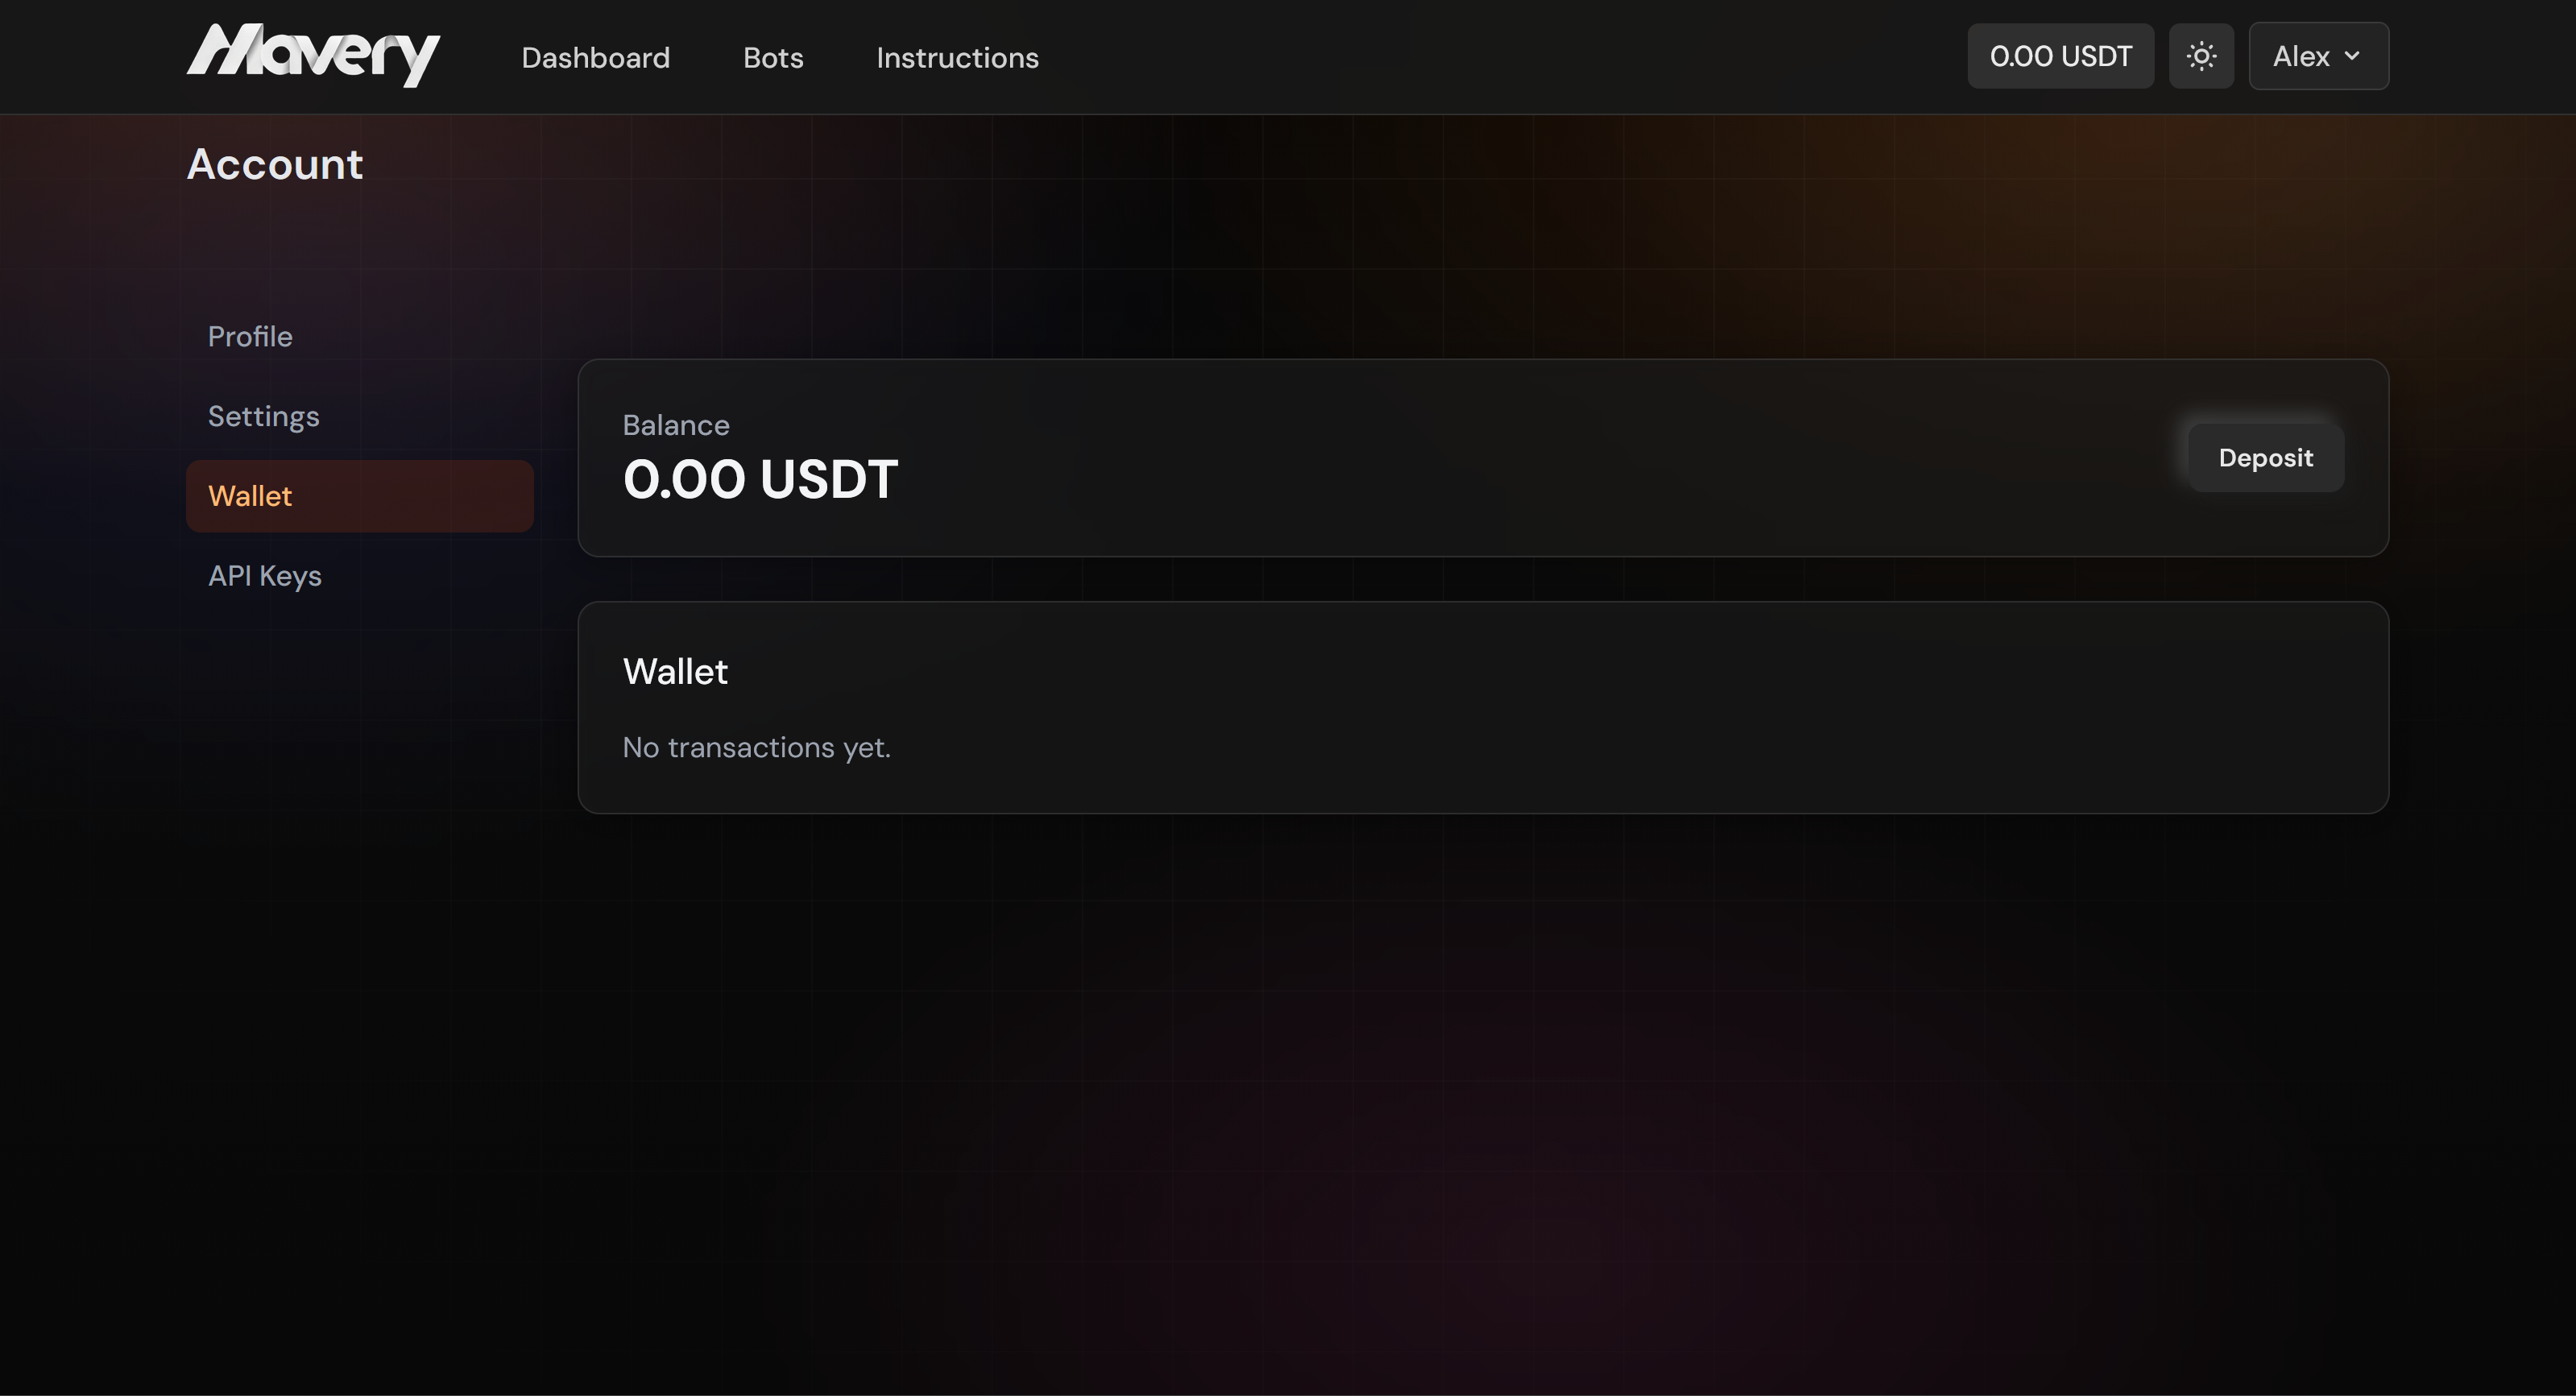
Wallet
View your balance, deposit funds, and see transaction history in the Wallet section of your account.
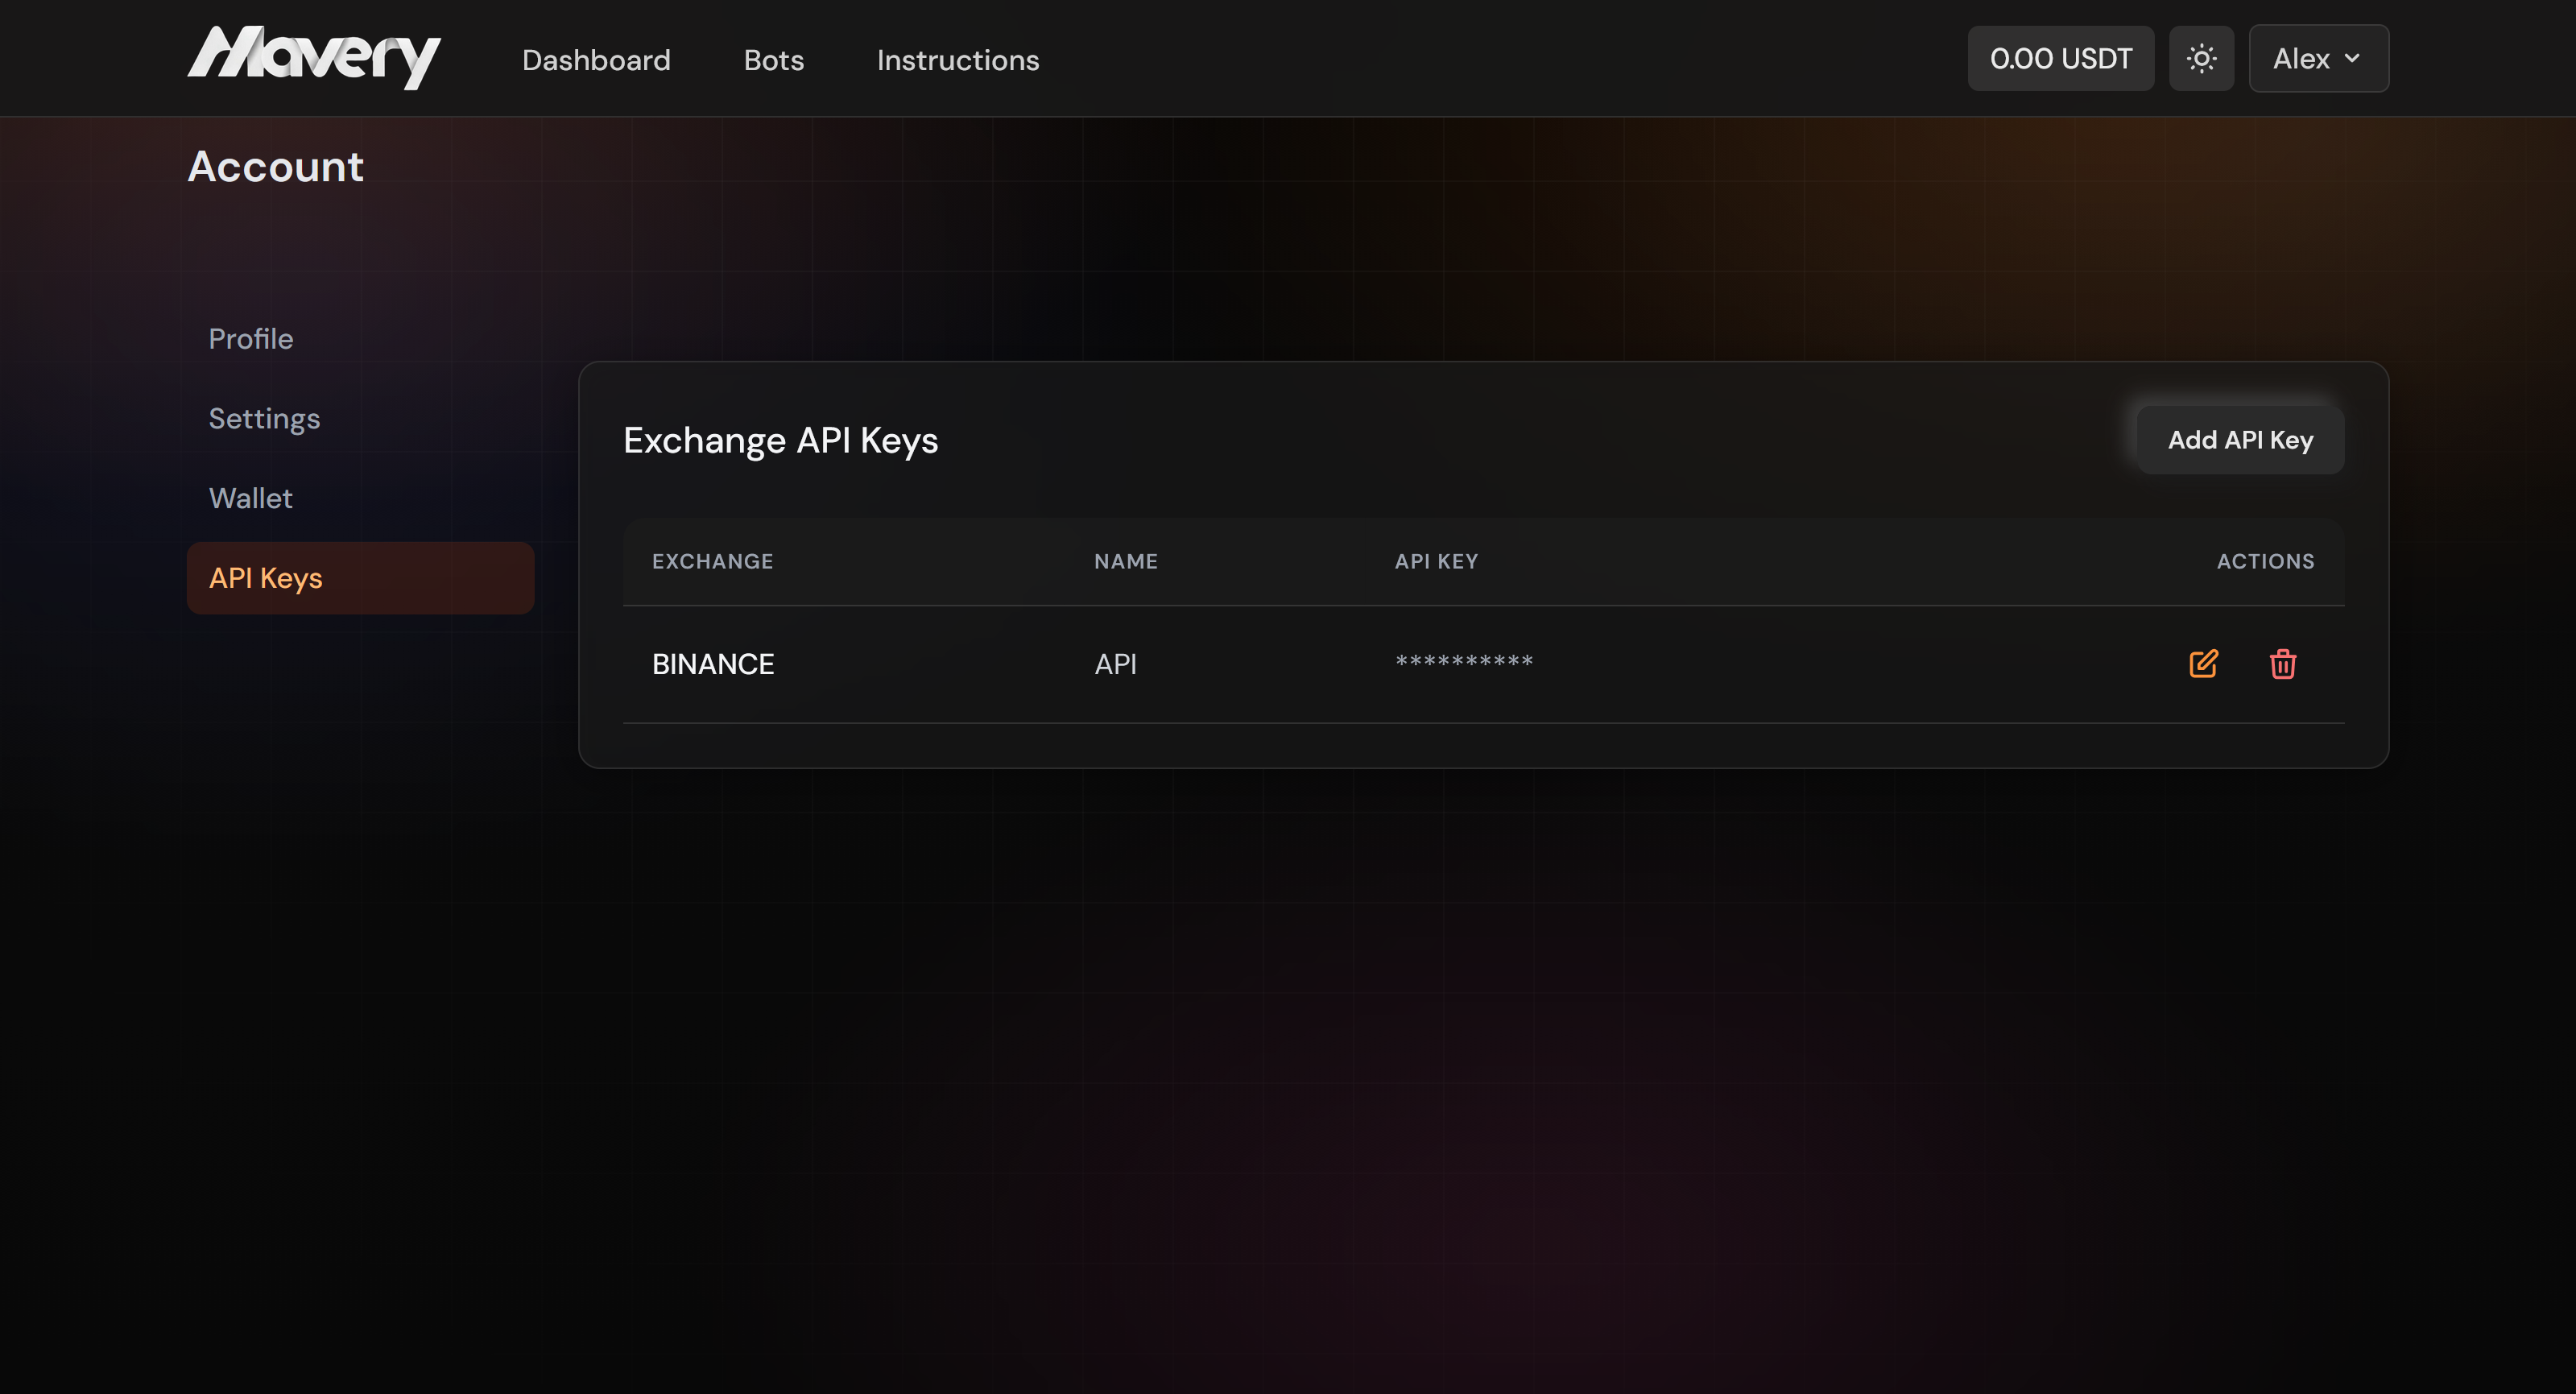
Exchange API keys
Add and manage API keys for exchanges such as Bybit, Binance, and others in Account → API Keys. Use keys with read and trade permissions only; the platform does not need withdrawal access.
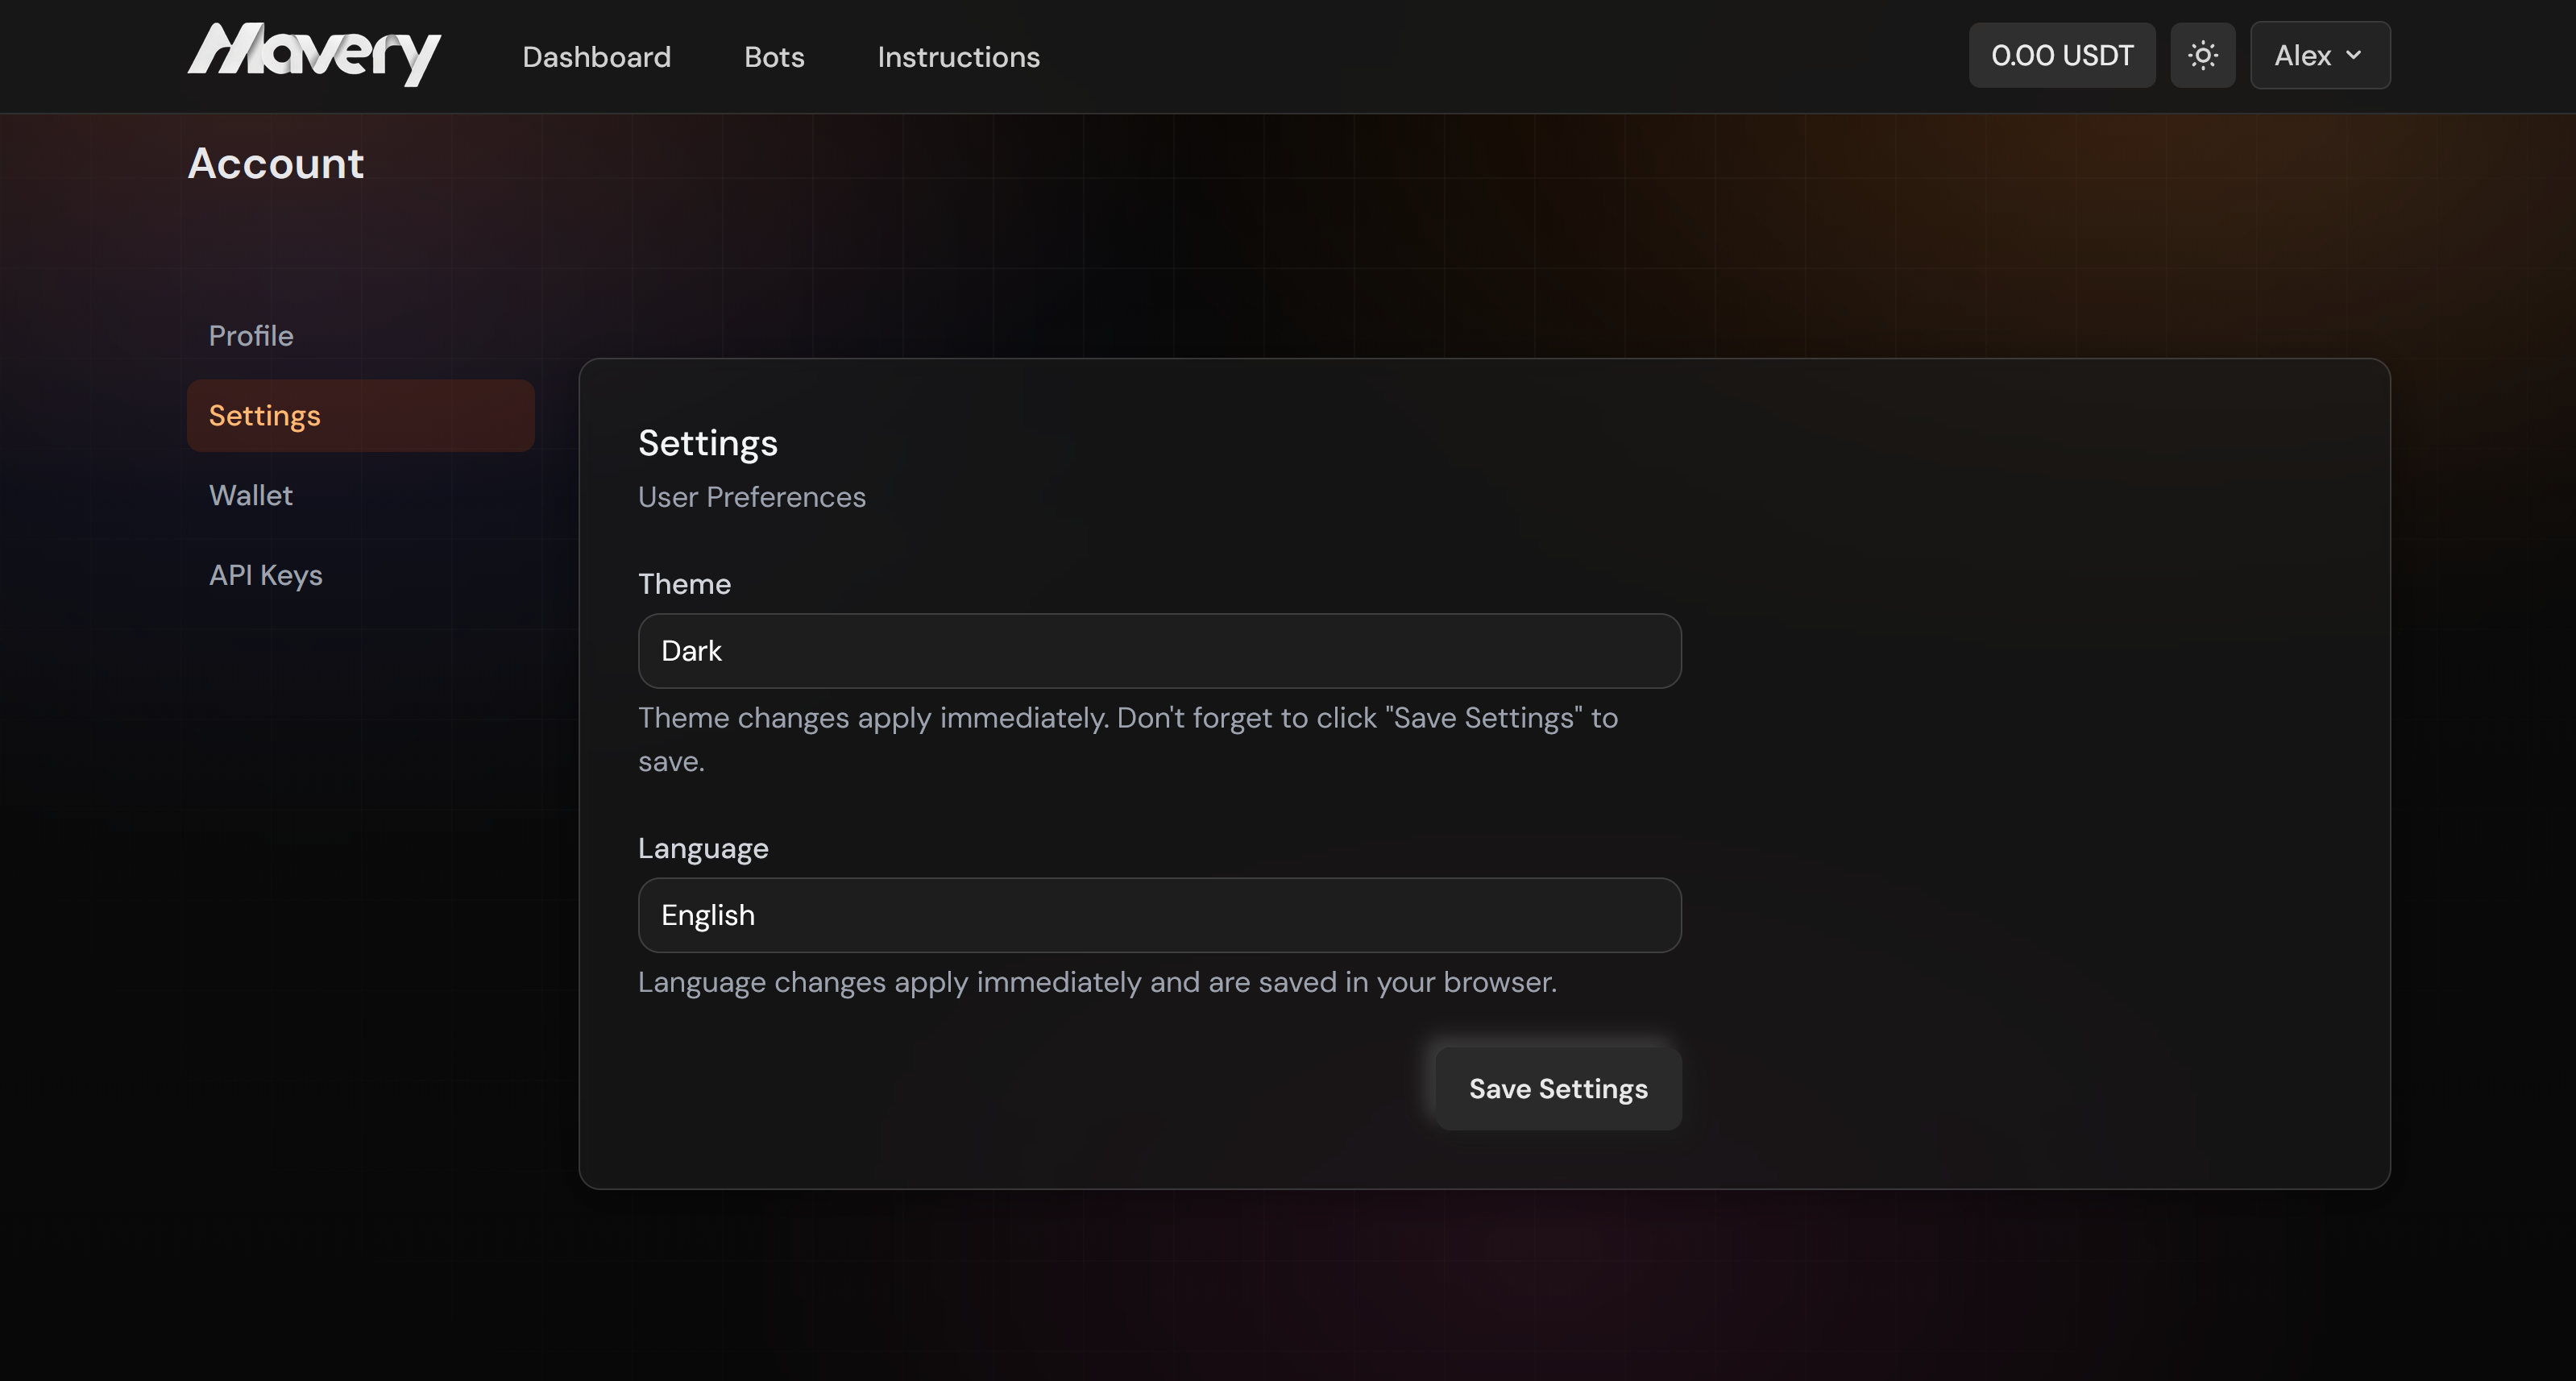
Settings
In Settings you can change the theme (light or dark) and the interface language.